Introduction 00:00
We now have enough knowledge to start building little experiences with R3F and we are going to start simple by reproducing some of the previous lessons.
Because we already know how it works in native Three.js, you’ll see that it’s going to be super easy and much faster. Still, we are going to discover a few new features along the way.
The first lesson we are going to reproduce in R3F is the 3D Text.

Setup 00:52
The starter setup is even simpler than the previous lessons.
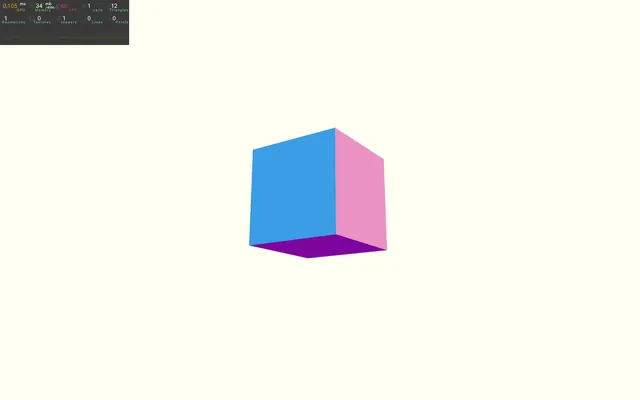
We have one cube at the center of the scene, OrbitControls so that we can rotate around and Perf to keep an eye on performance.
The text 01:29
Let’s start with the main component and create the 3D text.
Text3D helper
As discussed in the previous lesson, we need to use TextGeometry.
Luckily for us, drei provides a helper named Text3D that implements it.
In Experience.jsx, import Text3D from @react-three/drei:
import { Text3D, OrbitControls } from '@react-three/drei'To use Text3D, we need to provide a typeface font.
One font called helvetiker_regular.typeface.json is provided in the /public/fonts/ folder.
If you want, you can create your own typeface font with this website http://gero3.github.io/facetype.js/
Don’t forget that if you intend to use a font (especially online), you must have the right to do so. Check the license of the font you are about to use.
Add the <Text3D> anywhere in the JSX and provide the font path in the font attribute. The text you write between the opening and closing tags will be used to generate the geometry:
export default function Experience()
{
    return <>

        {/* ... */}

        <Text3D font="./fonts/helvetiker_regular.typeface.json">
            HELLO R3F
        </Text3D>

    </>
}

You should already see the text.
By default, a MeshBasicMaterial is applied, but we can change it by providing another material.
Let’s start with a <meshNormalMaterial /> that we will replace later with a matcap material:
<Text3D font="./fonts/helvetiker_regular.typeface.json">
    HELLO R3F
    <meshNormalMaterial />
</Text3D>

Now that we have something, we can remove the cube <mesh>:
export default function Experience()
{
    return <>

        <Perf position="top-left" />

        <OrbitControls makeDefault />

        <Text3D font="./fonts/helvetiker_regular.typeface.json">
            HELLO R3F
            <meshNormalMaterial />
        </Text3D>

    </>
}

Centering
We could use the same technique we used in the 3D Text lesson to center the geometry, but we can also use the Center helper from drei.
Import Center from @react-three/drei:
import { Center, Text3D, OrbitControls } from '@react-three/drei'And add it around the <Text3D>:
<Center>
    <Text3D font="./fonts/helvetiker_regular.typeface.json">
        HELLO R3F
        <meshNormalMaterial />
    </Text3D>
</Center>

Easy.
Parameters
All parameters that we can use to create the TextGeometry can be set as attributes.
Since we have already talked about them in the 3D Text lesson, let’s be lazy and set them as follows:
<Center>
    <Text3D
        font="./fonts/helvetiker_regular.typeface.json"
        size={ 0.75 }
        height={ 0.2 }
        curveSegments={ 12 }
        bevelEnabled
        bevelThickness={ 0.02 }
        bevelSize={ 0.02 }
        bevelOffset={ 0 }
        bevelSegments={ 5 }
    >
        HELLO R3F
        <meshNormalMaterial />
    </Text3D>
</Center>

Matcap Material
It’s time to implement our matcap material.
First, we need to load the matcap texture. We will see how to load textures in R3F in a future lesson, but in this lesson we are going to use a very specific technique.
We are going to use a drei helper named useMatcapTexture that will load matcaps automatically from this repository https://github.com/emmelleppi/matcaps.
Be careful, it’s not recommended to use this technique in production because we are dependent on the server that provides the textures.
Import useMatcapTexture from @react-three/drei:
import { useMatcapTexture, Center, Text3D, OrbitControls } from '@react-three/drei'Call it with the following parameters:
export default function Experience()
{
const matcapTexture = useMatcapTexture('7B5254_E9DCC7_B19986_C8AC91', 256)
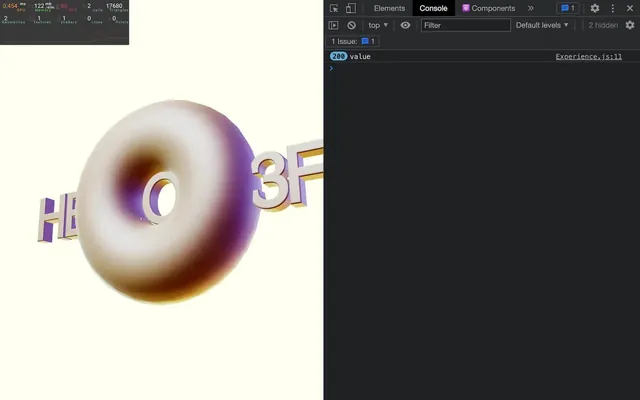
console.log(matcapTexture)
// ...
}
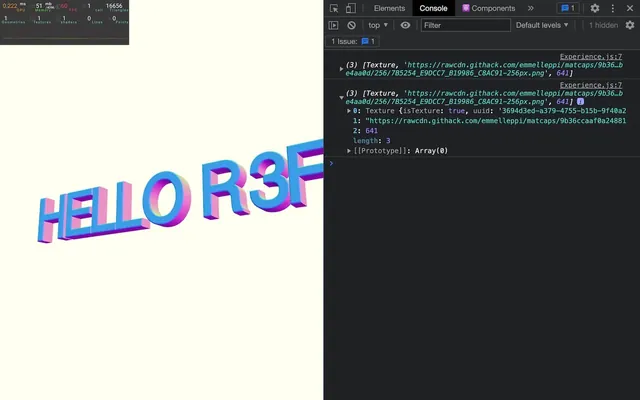
You might notice that everything we log in to the console will be logged twice. It’s the <Text3D> that triggers a re-render on our component. No big deal, just take it into account when checking the logs.
The first parameter is the name of the matcap.
You can find the names of the various matcaps from the repository: https://github.com/nidorx/matcaps/blob/master/PAGE-17.md#7b5254_e9dcc7_b19986_c8ac91 (this is just one of the many pages).
The second parameter is the desired width. We can choose between 64, 128, 256, 512, 1024
In our case, 256 is more than enough and you should try to use the smallest possible size for performance reasons.
If you check what’s being logged in the console, you’ll see that useMatcapTexture returns an array and that only the first value (the actual texture) matters to us.
We can destructure it to only retrieve that first value:
const [ matcapTexture ] = useMatcapTexture('7B5254_E9DCC7_B19986_C8AC91', 256)
console.log(matcapTexture)
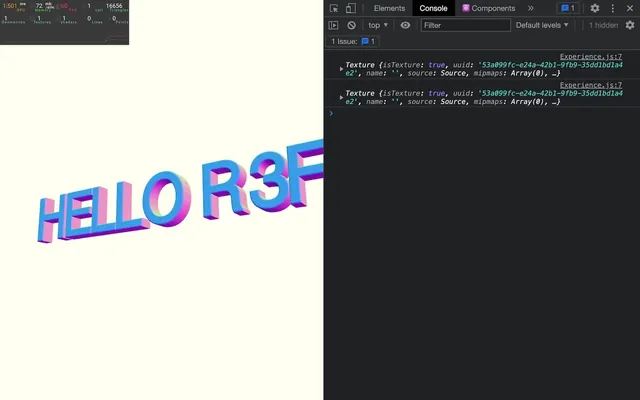
Now that we have our texture, we can replace our <meshNormalMaterial> with a <meshMatcapMaterial> and use the matcapTexture on the matcap attribute:
<meshMatcapMaterial matcap={ matcapTexture } />

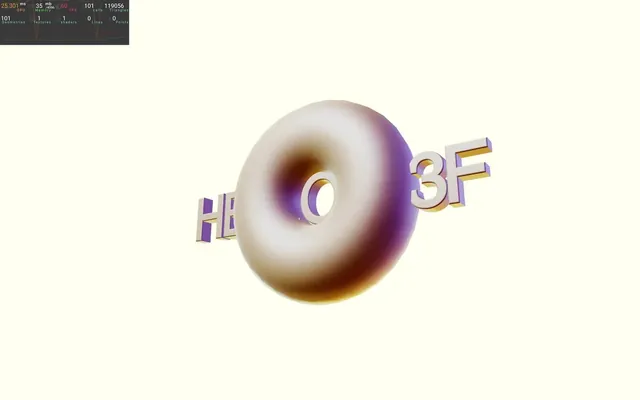
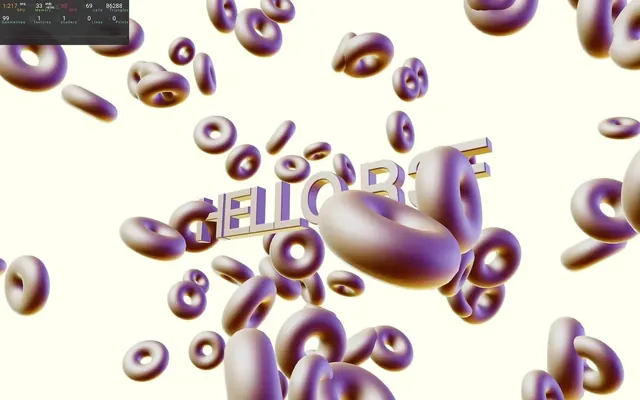
In this example, we are going to stick with bright colors to change from the original 3D Text a bit. Feel free to change the setup, change the background of the renderer, and test other matcaps.
Donuts 18:22
As Homer Simpsons said, “Donuts. Is there anything they can't do?”
In life, we need donuts and in WebGL too.
First donut
We are going to create just one donut to start with.
Create a <mesh> with a <torusGeometry> in it and duplicate the <meshMatcapMaterial> that we used for the text:
export default function Experience()
{
    // ...

    return <>

        {/* ... */}

        <mesh>
            <torusGeometry />
            <meshMatcapMaterial matcap={ matcapTexture } />
        </mesh>

    </>
}

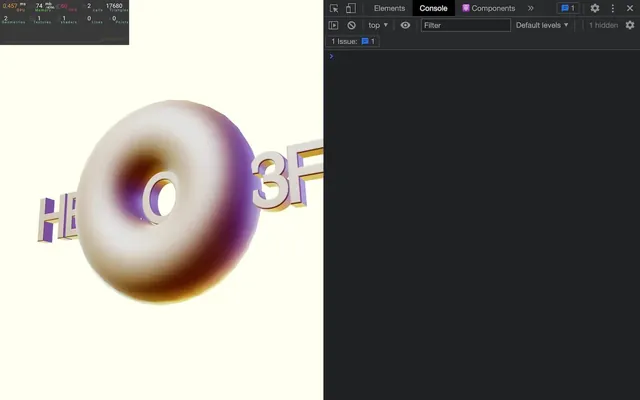
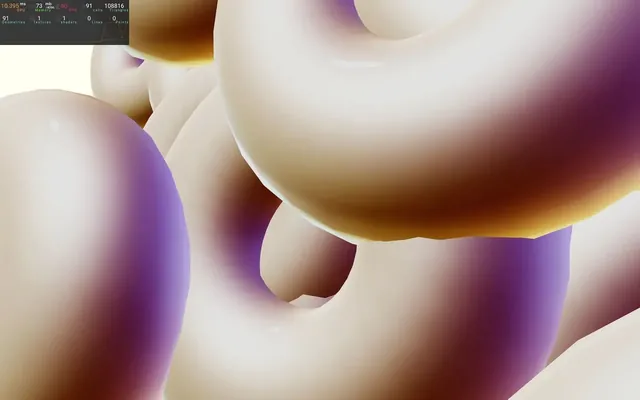
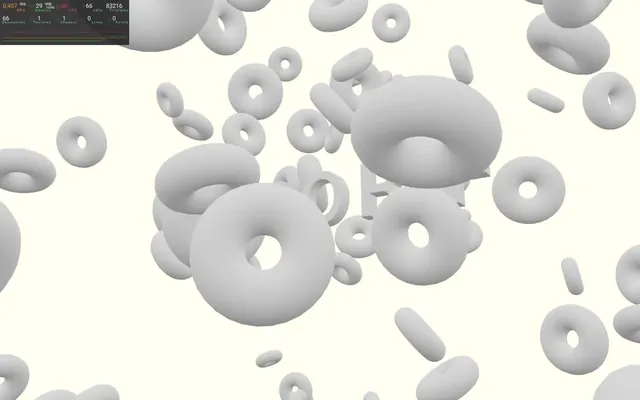
Here’s a nice thick donut.
The default settings of <torusGeometry /> make it look good enough. Yet, if you want to tweak the geometry, you can do it using the args attribute.
Multiple donuts
That’s a cool donut, but how can we have a hundred of them?
We could duplicate it and try to position them randomly, but it would take ages and would probably not look very random. Instead, we need to do a loop and place them randomly.
Unfortunately, as we saw earlier, we can’t do a for loop in the JSX.
There are multiple alternatives and we already saw one that implies using the map method. But the map implies that we have an array. And because we need 100 donuts, we need an array 100 long. We don’t really care about what’s inside that array, as long as it’s 100 long.
Let’s experiment a little right before the return.
Create a tempArray:
export default function Experience()
{
    // ...

    const tempArray = []
    console.log(tempArray)

    return // ...
}
This array currently has no element inside. We want it to be 100 long and we can do that with Array(100) instead of []:
const tempArray = Array(100)
console.log(tempArray)

You might notice that the array is being logged twice and it’s because our component is being re-rendered.
This is because some reactive data has changed in the component and, in this case, it’s caused by the <Text3D>. When the font finishes loading, the geometry is created and the scene has to be updated.
This is actually a normal behaviour. We could ask the component to wait for the <Text3D> before rendering by using a <Suspense> wrapping <Text3D>, but it’s actually not a big deal and it makes the rest of the scene (the donuts) visible while the font is loading which is why we are going to keep it like this.
We now have a 100 elements long array. Easy? Unfortunately, we can’t map on it.
If we try, we get nothing in the console:
const tempArray = Array(100)
tempArray.map(() =>
{
    console.log('value')
})
It’s because, although its length is 100, it is still considered as empty.
To fix that, we can create a new array based on the values of that array.
To get the values of the array (not the array itself but only what’s inside), we can use the spread operator:
const tempArray = [...Array(100)]
tempArray.map(() =>
{
    console.log('value')
})
(again, if you see twice the amount, it’s because the component is being re-rendered)
Weirdly, the result array we get is filled with a hundred instances of undefined and we can loop on it (welcome to JavaScript).
Note that they are other ways of creating an array, but we will see that later in the chapter.
Remove the tempArray.
Let’s transpose that in the JSX:
{ [...Array(100)].map(() =>
    <mesh>
        <torusGeometry />
        <meshMatcapMaterial matcap={ matcapTexture } />
    </mesh>
) }
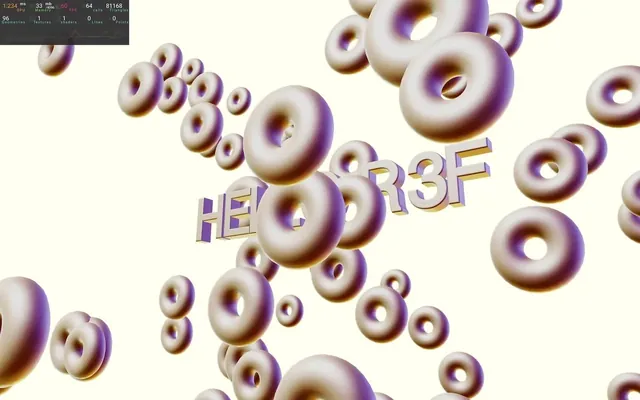
The function we provide to map returns the <mesh> which results in 100 donuts one on top of each other.
Let’s add some randomness to the position:
{ [...Array(100)].map(() =>
    <mesh
        position={ [
            (Math.random() - 0.5) * 10,
            (Math.random() - 0.5) * 10,
            (Math.random() - 0.5) * 10
        ] }
    >
        <torusGeometry />
        <meshMatcapMaterial matcap={ matcapTexture } />
    </mesh>
) }
And to the scale:
{ [...Array(100)].map(() =>
    <mesh
        position={ [
            (Math.random() - 0.5) * 10,
            (Math.random() - 0.5) * 10,
            (Math.random() - 0.5) * 10
        ] }
        scale={ 0.2 + Math.random() * 0.2 }
    >
        <torusGeometry />
        <meshMatcapMaterial matcap={ matcapTexture } />
    </mesh>
) }
And to the rotation:
{ [...Array(100)].map(() =>
    <mesh
        position={ [
            (Math.random() - 0.5) * 10,
            (Math.random() - 0.5) * 10,
            (Math.random() - 0.5) * 10
        ] }
        scale={ 0.2 + Math.random() * 0.2 }
        rotation={ [
            Math.random() * Math.PI,
            Math.random() * Math.PI,
            0
        ] }
    >
        <torusGeometry />
        <meshMatcapMaterial matcap={ matcapTexture } />
    </mesh>
) }
We have our donuts, but if you check the console, you should see a warning triggered by React:
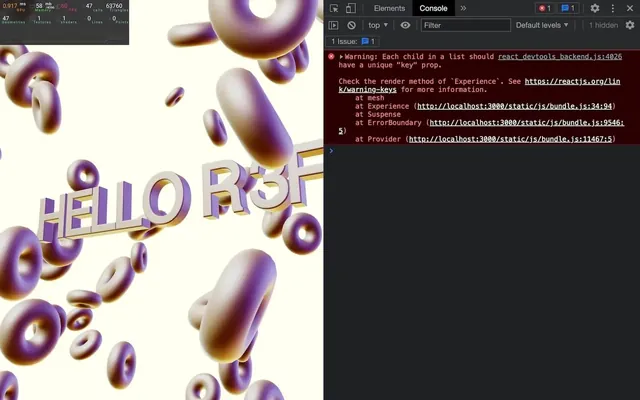
It’s because we are creating components in a loop, but we forgot to set a key to those components.
Here, we don’t have a unique ID. The warning isn’t even relevant since we are not going to manipulate the array, change the elements order, etc.
Let’s face it, we won’t be able to sleep knowing that we left a warning. We need to get rid of it.
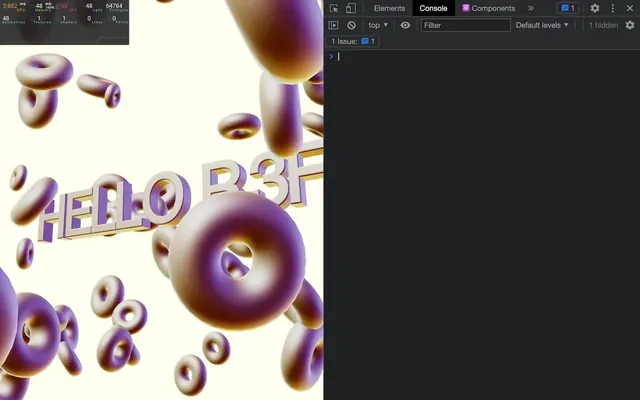
Retrieve the index from the map by setting two arguments (value and index) and use the index on the key attribute:
{ [...Array(100)].map((value, index) =>
    <mesh
        key={ index }
        position={ [
            (Math.random() - 0.5) * 10,
            (Math.random() - 0.5) * 10,
            (Math.random() - 0.5) * 10
        ] }
        scale={ 0.2 + Math.random() * 0.2 }
        rotation={ [
            Math.random() * Math.PI,
            Math.random() * Math.PI,
            0
        ] }
    >
        <torusGeometry />
        <meshMatcapMaterial matcap={ matcapTexture } />
    </mesh>
) }
Optimisation 29:50
Our little experiment seems complete, but we’ve forgotten something important.
We made performance mistakes, which is crystal clear in the performance monitoring.
Geometries
We have many geometries although we should have only two (the donut and the text).
To fix that, we are going to do kind of a silly trick in 3 steps:
- Create one
<torusGeometry>outside of the donut. Meaning that it won’t be associated with anything. - Store it by using
useState. - Put it back on the
<mesh>of the donuts from the state.
It’s going to be a bit hard, but don’t worry, we will see an easier solution right after.
Import useState from react:
import { useState } from 'react'Create a torusGeometry and setTorusGometry state with useState:
export default function Experience()
{
    const [ torusGeometry, setTorusGeometry ] = useState()

    // ...
}
Move the <torusGeometry> outside of the <mesh> and the map (this will break the current torus):
<torusGeometry args={ [ 1, 0.6, 16, 32 ] } />

{ [...Array(100)].map((value, index) =>
    <mesh
        key={ index }
        position={ [
            (Math.random() - 0.5) * 10,
            (Math.random() - 0.5) * 10,
            (Math.random() - 0.5) * 10
        ] }
        scale={ 0.2 + Math.random() * 0.2 }
        rotation={ [
            Math.random() * Math.PI,
            Math.random() * Math.PI,
            0
        ] }
    >
        <meshMatcapMaterial matcap={ matcapTexture } />
    </mesh>
) }
Send the setTorusGometry function to the ref of the <torusGeometry>:
<torusGeometry ref={ setTorusGeometry } />When sending a function to the ref attribute, React will call that function with the component as the parameter which would look a bit like setTorusGometry(<torusGeometry>) (although this code won’t work and is only used to explain).
In the end, the variable torusGeometry now contains the <torusGeometry> and we can send it to our <mesh> with the geometry attribute:
<mesh
    key={ index }
    geometry={ torusGeometry }
    position={ [
        (Math.random() - 0.5) * 10,
        (Math.random() - 0.5) * 10,
        (Math.random() - 0.5) * 10
    ] }
    scale={ 0.2 + Math.random() * 0.2 }
    rotation={ [
        Math.random() * Math.PI,
        Math.random() * Math.PI,
        0
    ] }
>
    <meshMatcapMaterial matcap={ matcapTexture } />
</mesh>
A bit tricky, but we now have only two geometries for the whole scene (the text and one torus).
Material
If you check the “shaders” in the performance monitoring, you’ll see that there is only one shader and that’s because Three.js automatically re-uses shaders when possible.
We could leave it like that, but let’s separate the material as we did for the geometry so that we’re only using one material for the text and the donuts.
We are going to do the same trick we did for the geometry by resorting to useState.
Move the <meshMatcapMaterial> out of the donuts <mesh> and remove it from the <Text3D> too:
<torusGeometry ref={ setTorusGeometry } />
<meshMatcapMaterial matcap={ matcapTexture } />

<Center>
    <Text3D
        font="./fonts/helvetiker_regular.typeface.json"
        size={ 0.75 }
        height={ 0.2 }
        curveSegments={ 12 }
        bevelEnabled
        bevelThickness={ 0.02 }
        bevelSize={ 0.02 }
        bevelOffset={ 0 }
        bevelSegments={ 5 }
    >
        HELLO R3F
    </Text3D>
</Center>

{ [...Array(100)].map((value, index) =>
    <mesh
        key={ index }
        geometry={ torusGeometry }
        position={ [
            (Math.random() - 0.5) * 10,
            (Math.random() - 0.5) * 10,
            (Math.random() - 0.5) * 10
        ] }
        scale={ 0.2 + Math.random() * 0.2 }
        rotation={ [
            Math.random() * Math.PI,
            Math.random() * Math.PI,
            0
        ] }
    />
) }
Create a material and setMaterial state with useState:
export default function Experience()
{
    const [ torusGeometry, setTorusGeometry ] = useState()
    const [ material, setMaterial ] = useState()

    // ...
}
Send the setMaterial to the ref attribute of the <meshMatcapMaterial>
<meshMatcapMaterial ref={ setMaterial } matcap={ matcapTexture } />Send the material state to the material attribute of the <Text3D> and donuts <mesh>:
<torusGeometry ref={ setTorusGeometry } />
<meshMatcapMaterial ref={ setMaterial } matcap={ matcapTexture } />

<Center>
    <Text3D
        material={ material }
        font="./fonts/helvetiker_regular.typeface.json"
        size={ 0.75 }
        height={ 0.2 }
        curveSegments={ 12 }
        bevelEnabled
        bevelThickness={ 0.02 }
        bevelSize={ 0.02 }
        bevelOffset={ 0 }
        bevelSegments={ 5 }
    >
        HELLO R3F
    </Text3D>
</Center>

{ [...Array(100)].map((value, index) =>
    <mesh
        key={ index }
        geometry={ torusGeometry }
        material={ material }
        position={ [
            (Math.random() - 0.5) * 10,
            (Math.random() - 0.5) * 10,
            (Math.random() - 0.5) * 10
        ] }
        scale={ 0.2 + Math.random() * 0.2 }
        rotation={ [
            Math.random() * Math.PI,
            Math.random() * Math.PI,
            0
        ] }
    />
) }

No visual difference, but now everything is set and clean.
Simpler solution
Although it’s working, using useState like this is kind of a stretch and makes your code more complicated than it should be.
As we’ve seen in previous lessons, nothing prevents us from creating variables outside of the component function.
We are going to create the geometry and the material before the Experience function using good old Three.js.
First, remove or comment the torusGeometry and material states (the code should break):
export default function Experience()
{
    // const [ torusGeometry, setTorusGeometry ] = useState()
    // const [ material, setMaterial ] = useState()

    // ...
}
And remove or comment the <torusGeometry> and <meshMatcapMaterial> (still broken):
{/* <torusGeometry ref={ setTorusGeometry } /> */}
{/* <meshMatcapMaterial ref={ setMaterial } matcap={ matcapTexture } /> */}
Since we are going to use native Three.js, let’s import THREE from three:
import * as THREE from 'three'And now, we can instantiate a TorusGeometry that we assign to a torusGeometry variable and a MeshMatcapMaterial that we assign to a material variable but outside of the Experience function:
const torusGeometry = new THREE.TorusGeometry(1, 0.6, 16, 32)
const material = new THREE.MeshMatcapMaterial()

export default function Experience()
{
    // ...
}
The good news is that we can already see something. The bad news is that we lost the matcap texture.
Unfortunately, the matcapTexture is only available in the Experience function that will be triggered when the component is being rendered.
Since we want to apply the texture only once, we are going use useEffect.
Import useEffect from react:
import { useEffect, useState } from 'react'Call useEffect in the Experience with an empty dependencies array so that it’s called only on the first component render:
export default function Experience()
{
    // ...

    useEffect(() =>
    {
    }, [])

    // ...
}
In useEffect, we can assign the matcapTexture to the matcap property of the material. We also have to tell the material that it needs to be updated using the needsUpdate property:
useEffect(() =>
{
    material.matcap = matcapTexture
    material.needsUpdate = true
}, [])

We are almost there, but as you can see, the texture looks too bright. It’s because R3F automatically changed the colorSpace of the matcapTexture texture when we used it in the <meshMatcapMaterial> and we need to do it manually.
Set the colorSpace of matcapTexture to THREE.SRGBColorSpace and also set it’s needsUpdate property to true:
useEffect(() =>
{
    matcapTexture.colorSpace = THREE.SRGBColorSpace
    matcapTexture.needsUpdate = true

    material.matcap = matcapTexture
    material.needsUpdate = true
}, [])

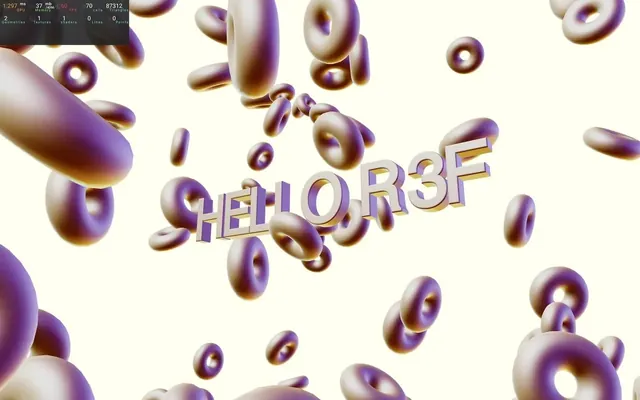
And everything is working as it should.
As you can see, creating variables outside of the component can make things easier like with the torusGeometry, but also harder like with the material. It’s up to you, your project and your preferences.
Animating the donuts 46:02
We’ve reached the point where we’ve achieved what we had initially without using R3F.
As you can see, it was easier and the code is minimalist. And since it was too easy, let’s go a little further and animate the donuts.
Accessing the donuts
We are going to animate the donuts in the useFrame, but this means that we need a reference to them.
Referring to multiple objects is a bit tricky in React.
We are going to test a first “silly” technique, by animating the donuts to prove that it’s working and then test a more appropriate technique.
Using a group as reference
We are going to use a <group> as the parent of our donuts so that we can refer all donuts through its children property.
Create the <group> around the donuts:
<group>
    { [...Array(100)].map((value, index) =>
        {/* ... */}
    ) }
</group>
Import useRef from react:
import { useRef, useEffect, useState } from 'react'Create a reference named donutsGroup:
export default function Experience()
{
    const donutsGroup = useRef()

    // ...
}
Associate it with the group using the ref attribute:
<group ref={ donutsGroup }>
    { [...Array(100)].map((value, index) =>
        {/* ... */}
    ) }
</group>
Updating the donuts
We now have access to the donuts as the children of the donutsGroup reference. Remember that every class, which inherits from Object3D (which is the case for the Group) has a children property.
In order to animate those children, we first need to import useFrame from @react-three/fiber:
import { useFrame } from '@react-three/fiber'Call it in Experience and send it a function:
export default function Experience()
{
    // ...

    useFrame(() =>
    {
    })

    // ...
}
Retrieve the state and delta parameters (we don’t need the state, but if we have to set it if we want access to delta):
useFrame((state, delta) =>
{
})
Loop through the children of the donutsGroup.current (don’t forget the current since it’s a reference) with a for … of and update their rotation.y property with the delta:
useFrame((state, delta) =>
{
    for(const donut of donutsGroup.current.children)
    {
        donut.rotation.y += delta * 0.2
    }
})
And that’s it, the donuts are rotating.
Having an array as reference
The problem with the <group> is, that its sole purpose is to compensate for a structural flaw. We don’t need a Group, all we want is a way to loop on the donuts.
Let’s see how we can get rid of the <group> and still have access to the donuts in a reference.
First, we need to understand that the reference is only an object with a current property containing what we want to save and keep.
Knowing that, we are going to create a reference with its current being an empty array and, then, we’re going to add the donuts to that array ourselves.
First, let’s do some clean-up by removing the donutGroup reference, the <group> and the loop inside the useFrame.
Then, create a donuts reference using useRef and send it an empty array as a parameter:
export default function Experience()
{
    const donuts = useRef([])

    // ...
}
Sending a value to useRef will set that value as the default current property of the reference.
Now, to the donut <mesh>, we are going to add a ref attribute but pass it a function.
{ [...Array(100)].map((value, index) =>
    <mesh
        ref={ () => {} }
        // ...
    />
) }
React will call the function and send the actual component as a parameter.
We can then save it in the donuts.current property of donuts using push() because it’s a simple array:
<mesh
    ref={ (element) => donuts.current.push(element) }
    // ...
/>
But we’ve made a mistake.
Every time the Experience component is rendered, donuts are added to the reference.
Even if it concerns the same donuts and R3F knows it should not create a new donut, our reference will keep filling up with the same donuts.
To fix that, we can add elements to the array at a specific position using the index of the map:
{ [...Array(100)].map((value, index) =>
    <mesh
        ref={ (element) => donuts.current[index] = element }
        // ...
    />
) }
We now have our reference to the donuts without resorting to silly tricks.
We can go back to the useFrame and do the loop again to update the rotations, but this time on the donuts.current array.
useFrame((state, delta) =>
{
    for(const donut of donuts.current)
    {
        donut.rotation.y += delta * 0.2
    }
})
Everything works the same way but without the cost of having a <group> on top of the donuts.